

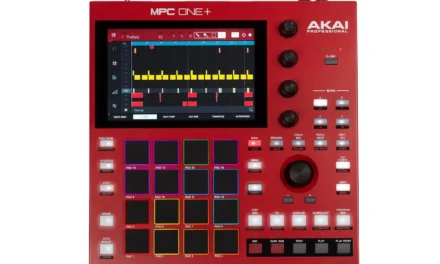
The Akai MPC One+ is a modern take on the iconic MPC (Music Production Controller) series, combining the legendary workflow of Akai’s hardware with the power of standalone production. Whether you’re a seasoned producer or a beginner looking to dive into beat-making, the MPC One+ is a versatile and intuitive tool that can bring your musical ideas to life. In this tutorial, I’ll walk you through the basics of setting up and using the MPC One+, so you can start creating music like a pro.
Step 1: Unbox and Set Up Your MPC One+
- Unbox Your MPC One+:
Inside the box, you’ll find the MPC One+, a power adapter, and a USB cable. The MPC One+ is a standalone device, so you won’t need a computer to get started (though you can connect it to one if you want). - Connect Power and Turn It On:
Plug the power adapter into the MPC One+ and connect it to a power outlet. Press the power button on the back of the unit to turn it on. - Connect Headphones or Monitors:
Use the 1/4” headphone jack or the RCA outputs to connect your headphones or studio monitors. If you’re using a MIDI keyboard or other external gear, connect it via USB or MIDI ports.
Step 2: Navigate the MPC One+ Interface
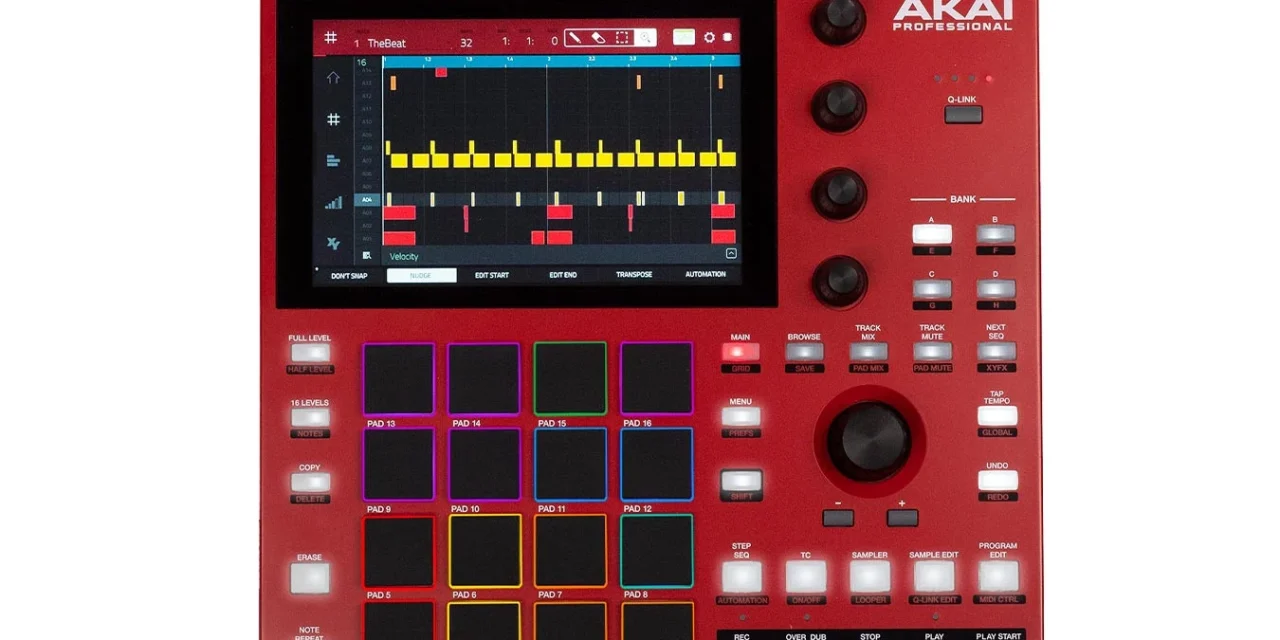
The MPC One+ features a 7-inch multi-touch display and 16 velocity-sensitive pads. Here’s a quick overview of the main components:
- Pads: Use these to trigger samples, play drums, or input notes.
- Q-Links: These knobs can be assigned to control parameters like volume, filter cutoff, or effects.
- Touchscreen: The display is your main interface for navigating menus, editing sounds, and arranging tracks.
- Transport Controls: Buttons for play, stop, record, and overdub are located on the front panel.
Step 3: Load a Project or Start a New One
- Load a Project:
When you power on the MPC One+, you’ll see the Project Selector screen. Tap on an existing project to load it, or tap New Project to start fresh. - Set Your Tempo:
Use the Tempo knob or tap the tempo on the screen to set your project’s BPM. You can also enable the metronome by tapping the metronome icon.
Step 4: Create a Drum Program
- Create a New Drum Program:
Go to the Main Menu and select Program. Tap New Program and choose Drum Program. This will create a blank drum program where you can assign samples to the pads. - Load Samples:
Tap the Browser icon to access your sample library. You can load factory sounds or import your own samples via USB or SD card. Drag and drop samples onto the pads to assign them. - Play and Record:
Use the pads to play your drum sounds. Press Record to start recording your performance, and press Stop when you’re done. You can quantize your performance by going to Edit > Quantize.
Step 5: Add a Bassline or Melody
- Create a New MIDI Track:
Go to the Main Menu and select Track. Tap New Track and choose MIDI Track. Assign a plugin instrument (e.g., TubeSynth, Electric, or Bassline) to the track. - Play or Sequence Notes:
Use the pads to play notes in Pad Mode, or switch to Note Repeat or Chord Mode for more creative options. You can also use the Piano Roll to draw in notes and edit them. - Record Your Performance:
Press Record to capture your bassline or melody. Use the Overdub button to layer additional parts.
Step 6: Arrange Your Song
- Switch to Song Mode:
Tap the Song icon to switch from Sequence Mode to Song Mode. This allows you to arrange your sequences into a full song. - Add Sequences:
Drag and drop sequences from the Sequence List into the Song Arrangement. You can duplicate, trim, or rearrange sequences to build your track.

Step 7: Add Effects and Mix Your Track
- Add Effects:
Go to the Mixer by tapping the Mixer icon. Select a track and tap Insert Effect to add effects like reverb, delay, or compression. The MPC One+ comes with a variety of built-in effects to enhance your sound. - Adjust Levels and Panning:
Use the Q-Links or touchscreen faders to adjust the volume and panning of each track. You can also automate parameters by recording your adjustments in real-time.
Step 8: Export Your Project
Once your track is complete, it’s time to export it:
- Go to the Main Menu and select Export.
- Choose your export format (e.g., WAV, MP3) and settings (e.g., bit depth, sample rate).
- Select the output destination (e.g., USB drive, SD card) and tap Export.
Tips for Getting the Most Out of Your MPC One+
- Explore the Factory Content:
The MPC One+ comes with a wealth of factory sounds, loops, and plugins. Spend some time exploring the Browser to find inspiration. - Use the Q-Links for Real-Time Control:
Assign the Q-Links to control parameters like filter cutoff, resonance, or effects for hands-on tweaking. - Connect to a Computer (Optional):
While the MPC One+ is a standalone device, you can connect it to a computer via USB and use it as a controller with MPC software. - Learn Keyboard Shortcuts:
The MPC One+ has a variety of shortcuts to speed up your workflow. For example, hold Shift and press a pad to access additional functions.
Final Thoughts
The Akai MPC One+ is a powerful and versatile tool for music production, combining the tactile feel of hardware with the flexibility of modern software. Whether you’re crafting beats, composing melodies, or arranging full tracks, the MPC One+ provides everything you need to bring your ideas to life.
So power up your MPC One+, dive into its intuitive workflow, and start creating. With a little practice, you’ll see why the MPC series has been a staple in music production for decades. Happy beat-making!

