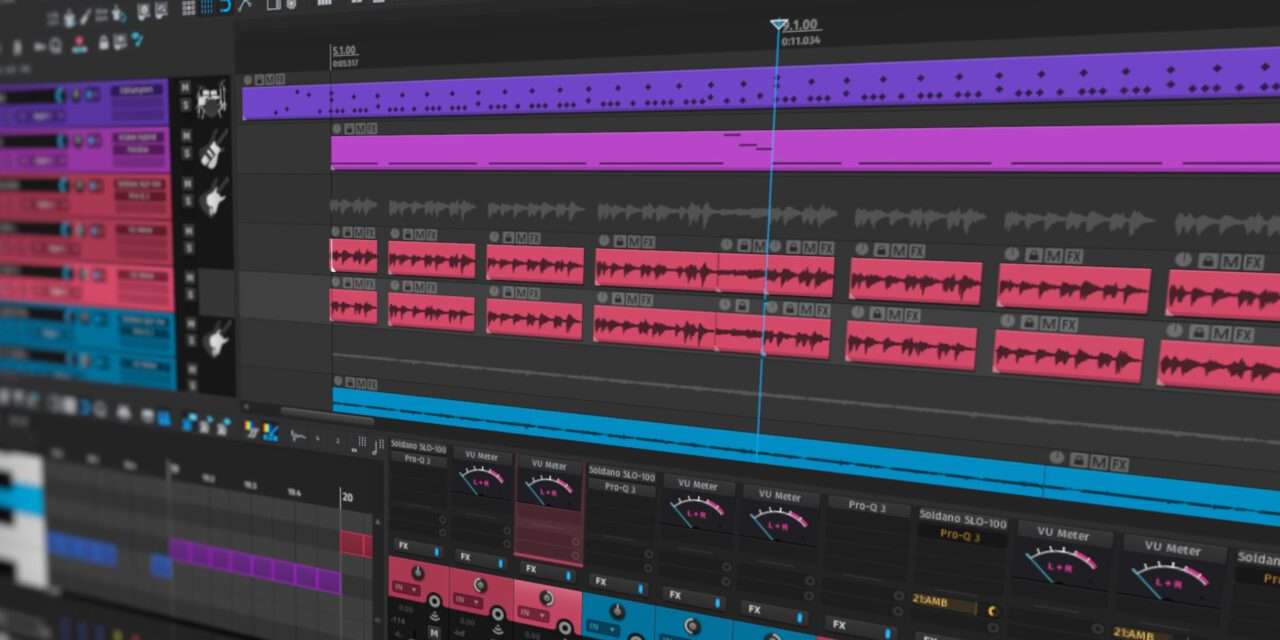
If you’re new to Reaper, the idea of diving into this highly customizable and powerful DAW might feel a bit overwhelming. But don’t worry—Reaper is designed to be as flexible as it is user-friendly, and with a little guidance, you’ll be creating music, editing audio, and mixing tracks like a pro in no time. In this tutorial, I’ll walk you through the basics of setting up and using Reaper, so you can unlock its full potential.
Step 1: Download and Install Reaper
- Download Reaper:
Head over to the official Reaper website (https://www.reaper.fm/) and download the installer for your operating system (Windows, macOS, or Linux). The installer is incredibly lightweight—just a few megabytes—so it won’t take long to download. - Install Reaper:
Run the installer and follow the on-screen instructions. Reaper doesn’t require a license to use, but you can evaluate it for free for 60 days. After that, you’ll need to purchase a license (discounted license: 60,commerciallicense:60,commerciallicense:225).
Step 2: Set Up Your Audio Interface
Before you start making music, you’ll need to set up your audio interface:
- Open Reaper and go to Options > Preferences (or press
Ctrl+Pon Windows,Cmd+,on macOS). - Under Audio > Device, select your audio interface from the dropdown menu. If you don’t have an interface, you can use your computer’s built-in audio.
- Set your sample rate and buffer size. A lower buffer size reduces latency but may strain your CPU, while a higher buffer size is more stable but introduces more latency. A good starting point is 44.1kHz sample rate and 256 samples buffer size.
Step 3: Create a New Project
- Start a New Project:
Go to File > New Project (or pressCtrl+N). Reaper will prompt you to save your project—choose a location and give it a name. - Set Your Tempo and Time Signature:
In the transport bar at the top, you can set your project’s tempo and time signature. Click the tempo to type in a value, or use the metronome icon to enable/disable the click track.
Step 4: Add Tracks and Record Audio
- Add a Track:
Right-click in the track panel and select Insert New Track (or pressCtrl+T). You can add as many tracks as you need for your project. - Arm the Track for Recording:
Click the red Arm button on the track you want to record. Set the input source by clicking the input dropdown (e.g., microphone, guitar, etc.). - Record Audio:
Press the Record button in the transport bar (or pressR) to start recording. Press Stop (or pressSpacebar) when you’re done.
Step 5: Add MIDI and Virtual Instruments
- Insert a Virtual Instrument:
Right-click in the track panel and select Insert Virtual Instrument on New Track. Choose an instrument from the list (Reaper comes with some basic synths, but you can also load third-party VSTs). - Open the MIDI Editor:
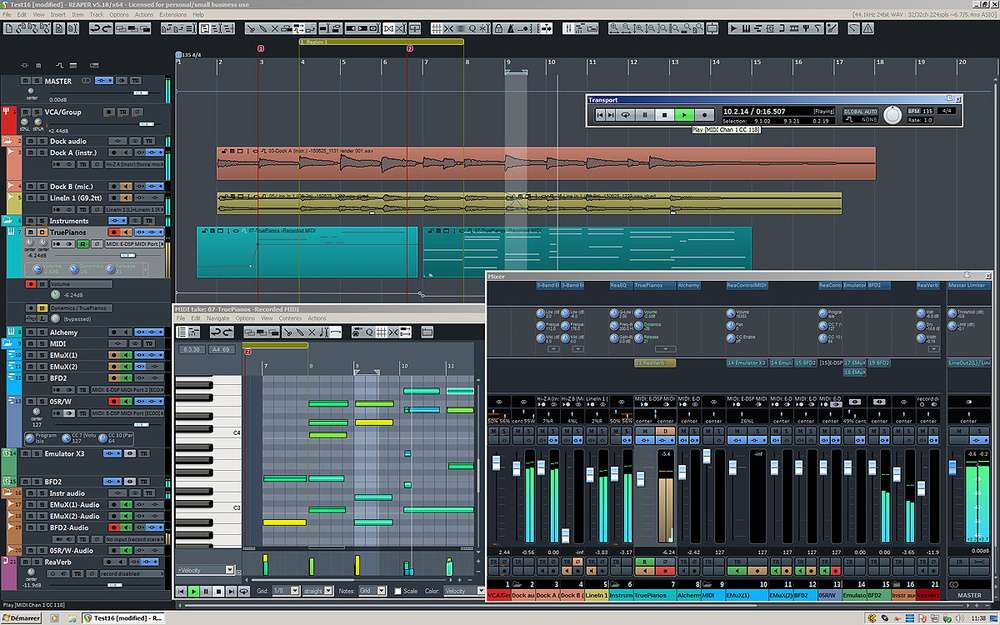
Double-click the MIDI item on the track to open the MIDI editor. Here, you can draw in notes, adjust velocities, and program your performance.
Step 6: Edit Your Audio and MIDI
Reaper’s editing tools are incredibly powerful. Here’s how to use some of the basics:
- Split Items:
Use the Split Tool (pressS) to cut audio or MIDI items at the cursor position. - Adjust Timing with Flex Time:
Right-click an audio item and select Item Properties > Take > Enable Flex Time. This allows you to stretch or compress audio to match your project’s tempo. - Quantize MIDI:
In the MIDI editor, select the notes you want to quantize, then go to Edit > Quantize Events. Choose your quantization settings and apply.
Step 7: Mix Your Tracks
- Add Effects:
Click the FX button on a track to open the effects window. Here, you can add plugins like EQ, compression, reverb, and more. Reaper comes with a suite of built-in effects, but you can also use third-party VSTs. - Adjust Levels and Panning:
Use the faders and pan knobs in the mixer (pressAlt+Mto open) to balance your tracks. - Automation:
Click the Trim button on a track and select Show Automation Lane. You can draw in automation for volume, pan, or any plugin parameter.
Step 8: Export Your Project
Once your project is complete, it’s time to export it:
- Go to File > Render (or press
Ctrl+Alt+R). - Choose your render settings (e.g., WAV, MP3, etc.), set the output directory, and click Render.
Tips for Getting the Most Out of Reaper
- Customize Your Workflow:
Reaper’s interface is highly customizable. Right-click on any toolbar or menu to add, remove, or rearrange buttons. You can also create custom actions and keyboard shortcuts in Actions > Show Action List. - Explore the Community:
Reaper has a passionate and active user community. Check out the Reaper Blog (https://reaperblog.net/) and the Reaper Forum (https://forum.cockos.com/) for tutorials, scripts, and tips. - Learn Keyboard Shortcuts:
Reaper’s efficiency comes from its keyboard shortcuts. Spend some time learning the basics (e.g.,Sfor split,Ctrl+Zfor undo) to speed up your workflow.
Final Thoughts
Reaper is a DAW that rewards exploration and experimentation. While it may not have the flashy interface or built-in instruments of some other DAWs, its flexibility, affordability, and powerful features make it a favorite among producers, engineers, and musicians. Whether you’re recording a band, producing electronic music, or editing a podcast, Reaper has the tools you need to bring your ideas to life.
So fire up Reaper, dive into its endless customization options, and start creating. With a little practice, you’ll see why this underdog DAW has such a devoted following. Happy producing!


